by Team Codeasify
3285

In order to create a Django project, you will need to have Python and Django installed on your computer. The following steps can be followed if you do not already have Python and Django installed on your computer.
STEP 1. You can download Python from the Python's official website (https://www.python.org/) and install it according to the instructions provided or you can follow this amazing blog.
STEP 2. Open your terminal or command prompt and run this command to install Django:
pip install djangoOnce you have Python and Django installed
STEP 3. Navigate to the directory where you want to create your Django project. Run the this command to create a new Django project:
django-admin startproject myprojectReplace myproject with the name you want to give to your project.
This will create a new directory called myproject in the current directory, which will contain the files and directories needed for your Django project. The directory structure should look like this:
|── myproject
│   ├── __init__.py
│   ├── asgi.py
│   ├── settings.py
│   ├── urls.py
│   └── wsgi.py
|── db.sqlite3
|── manage.py
The manage.py script is used to set the correct Python environment and launch the Django command-line utility.
Run the following command in the myproject directory to start the Django development server:
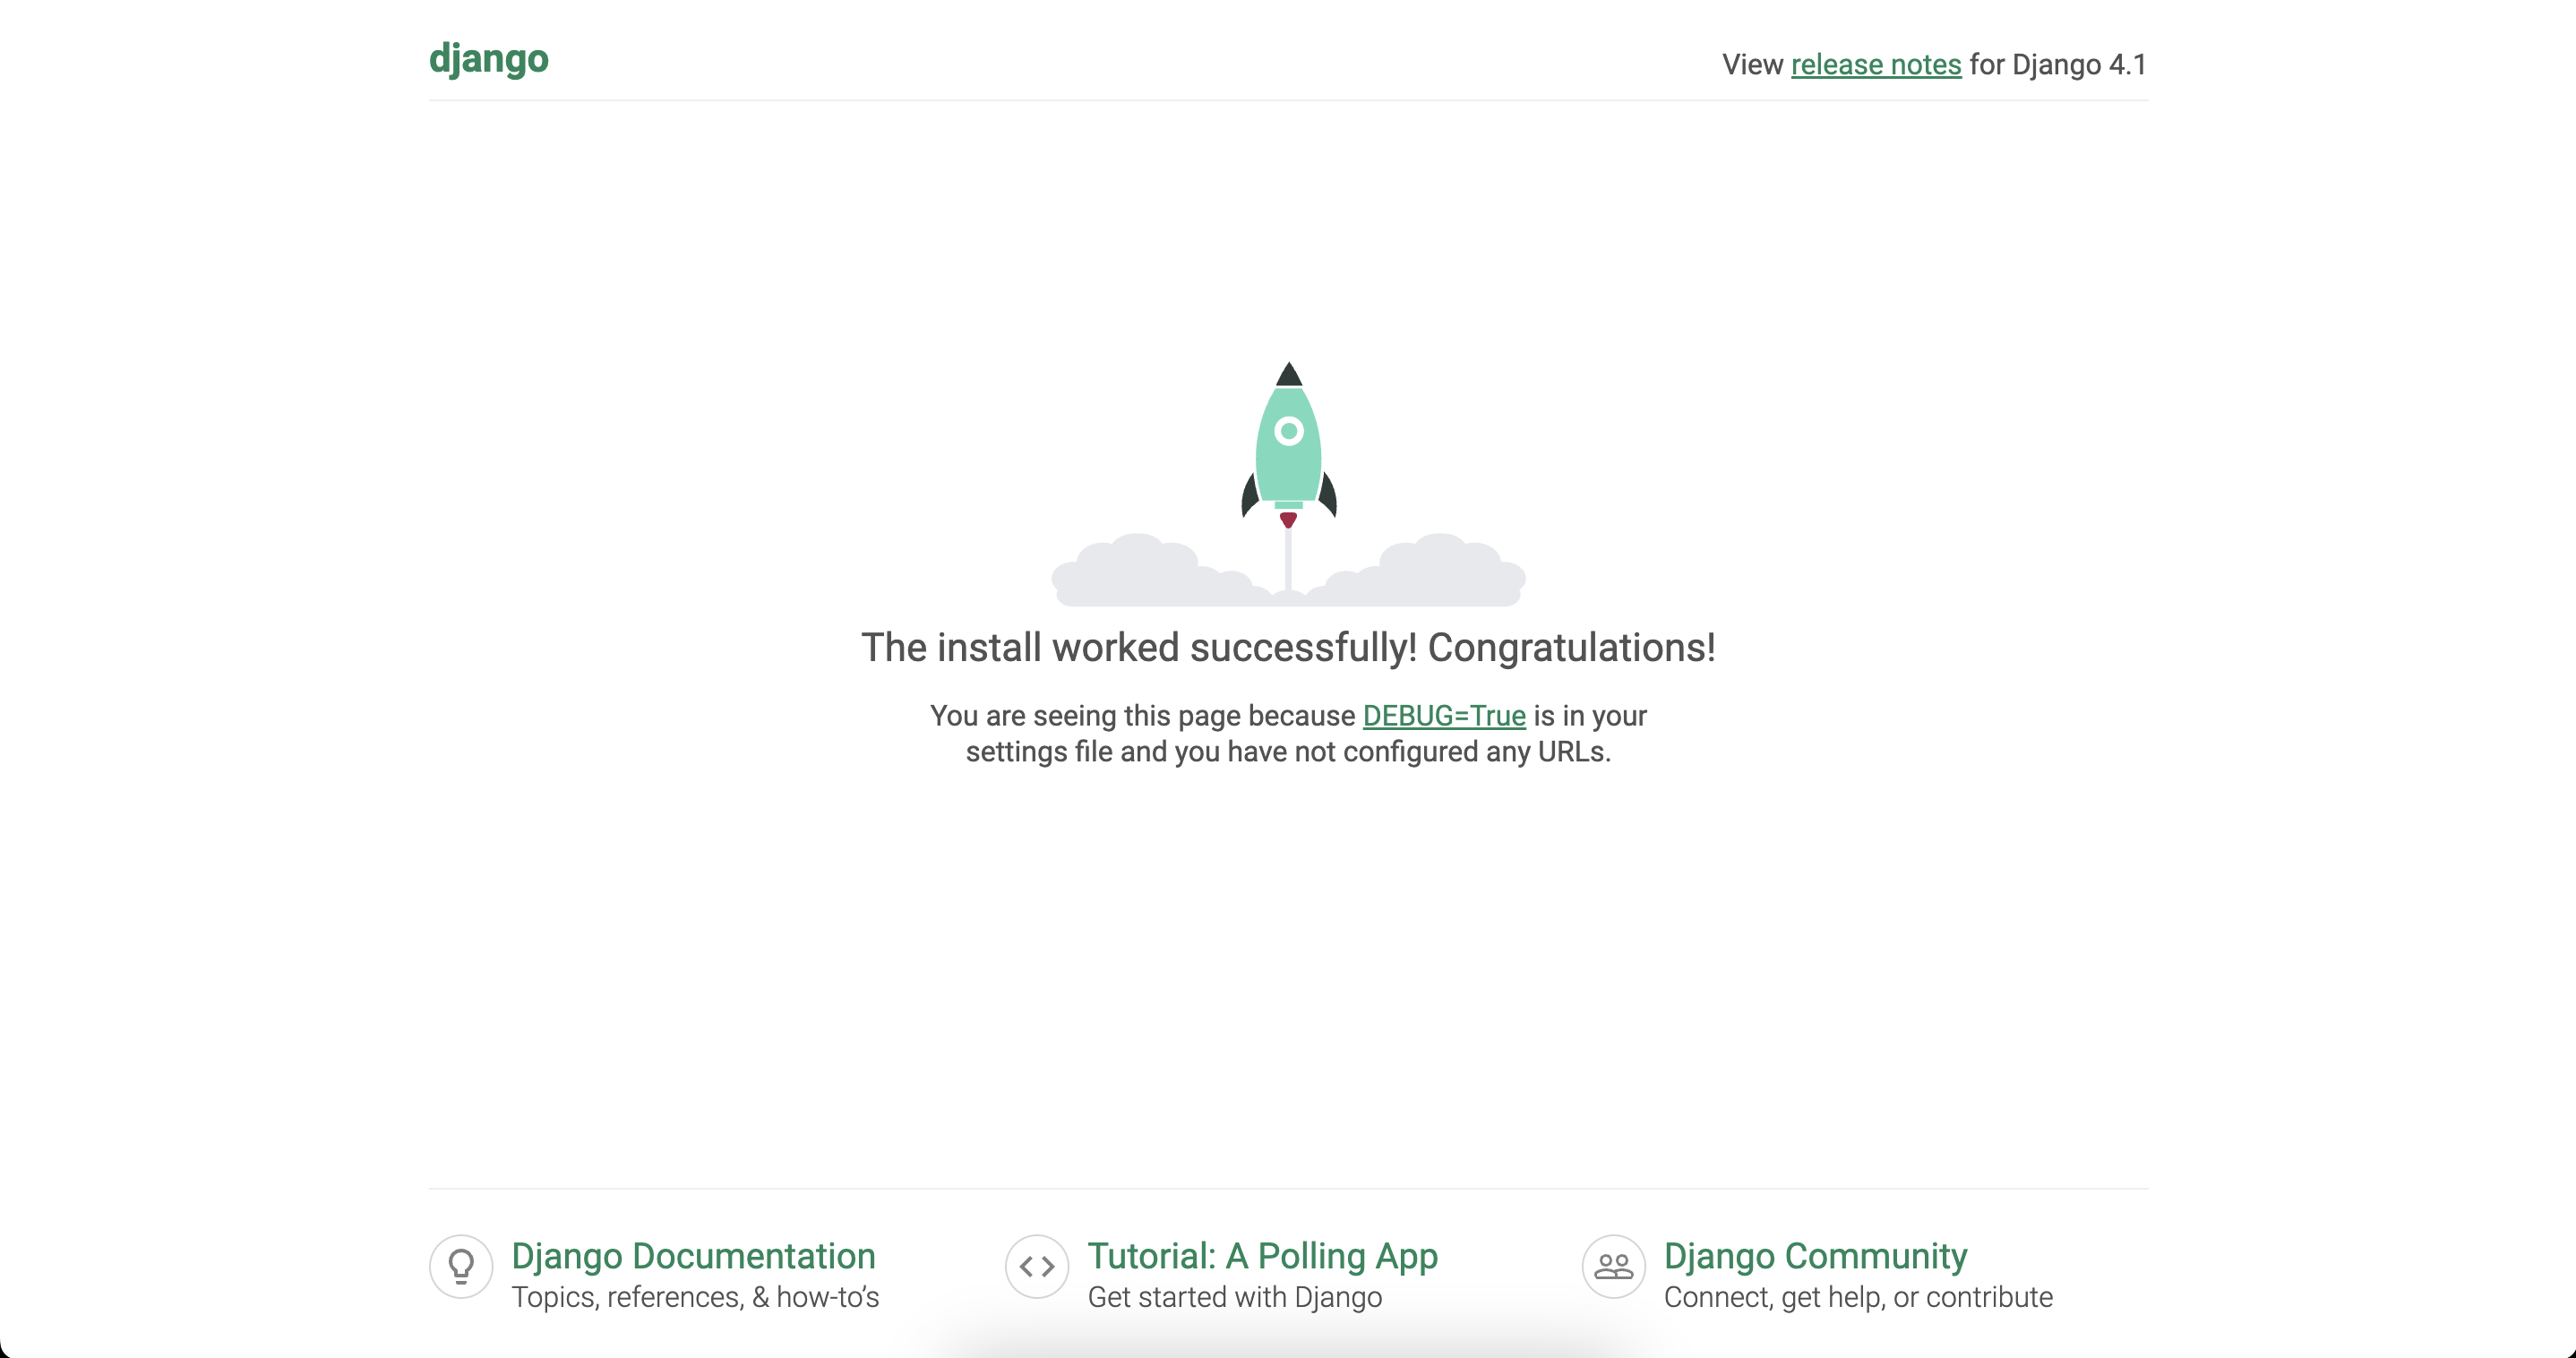
python manage.py runserverThis will start the development server by default at http://127.0.0.1:8000/. You can change the port number. Then you will see this page.
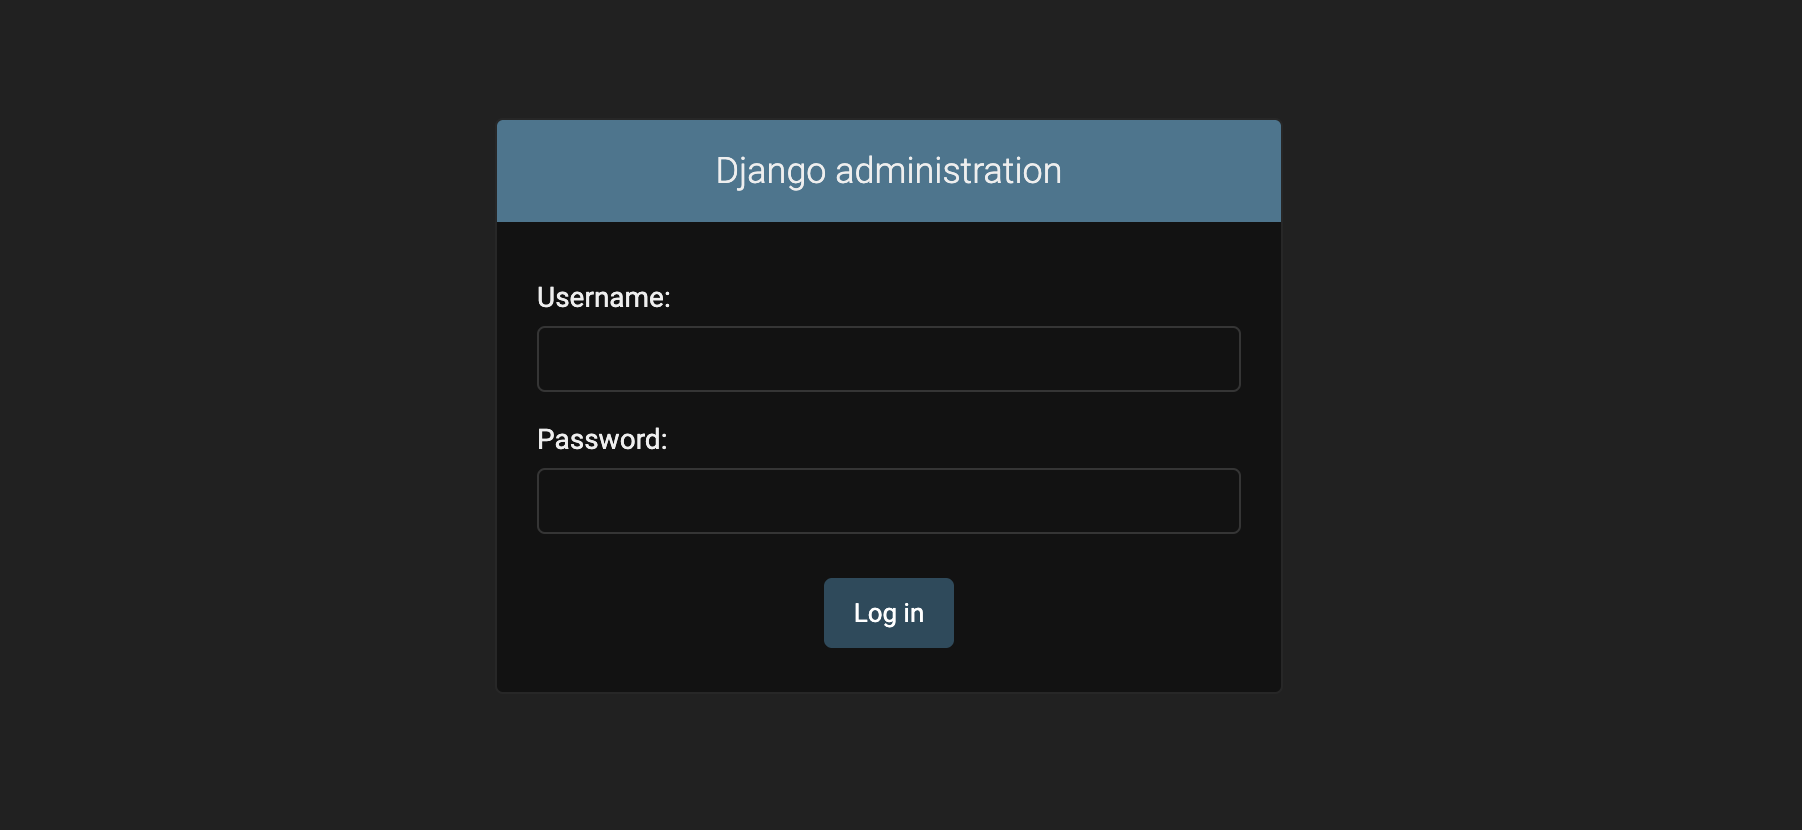
You can access the Django administration site at http://127.0.0.1:8000/admin/.